Welcome!
Hello and welcome to the exciting world of IntraWeb. In this tutorial you'll see in a few simple steps how to create and execute an IntraWeb application
Prerequisites
To run the example in this tutorial you'll need the following:
| ·
|
IntraWeb 5.1 in Application Mode (to get an evaluation copy of IntraWeb, please go to the Atozed Software website - http://www.atozedsoftware.com)
|
| ·
|
One of the following : Delphi (5, 6 or 7), Kylix (2 or 3), C++ Builder (5 or 6) or JBuilder. Visual Studio.NET is currently under development
|
| ·
|
Approximately 20 minutes of your time (installation time not included)
|
Creating a new application
his application is built using IntraWeb Borland Edition and application mode.
The first step is to create a new IntraWeb application. To do this select the File menu, then New (Select New, not New Application, etc), then Other. A "New Items" dialog will appear. Select the "IntraWeb" tab. It should look like this:
IntraWeb New Dialog
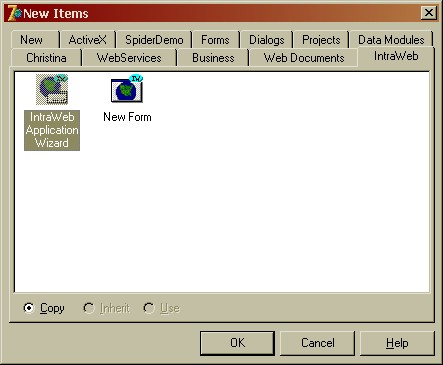
Using this dialog you can start a new IntraWeb application or add new IntraWeb forms to your existing applications.
After selecting "IntraWeb Application Wizard", the wizard will launch and you'll be presented with the following dialog:
The IntraWeb Application Wizard
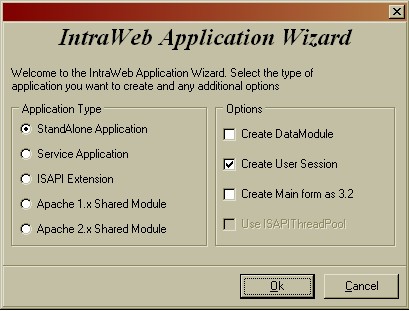
For this application we'll select "StandAlone Application". This will produce a self contained executable, that will be the only thing on the server side that you'll need to run your application. You do not need a web server of any kind.
Notice the other available options: you could make your application a Windows service, and ISAPI extensions for web servers that support ISAPI, like IIS and OmniHTTPD, and even an Apache module.
The options in the right panel specify whether the application should have a DataModule by default, if support for user sessions will be available, whether the HTML output should be 3.2 or 4.0 (default is 4.0 unless you check the "Create Main form as 3.2" box) and if the ISAPIThreadPool unit should be used (for the IIS server only).
Each new IntraWeb application consists of three modules:
1. Project1.dpr - This is the project file.
2. Unit1.pas and IWUnit.dfm - This is the main form of your application. You can change this by editing the project file, or even have multiple main forms determined by an incoming HTTP variable.
3. ServerController.pas and ServerController.dfm - This is the server controller and used to configure your IntraWeb application and create application level events. In a new application you can leave all properties as default.
If you want, you can rename any of the files by doing a Save As from the File menu.
Implementing "Hello World"
If you have worked with other web technologies you are probably gearing up for a very big tutorial on simply how to implement even the simplistic "Hello World". I hope we will not disappoint you, but this tutorial will be very short, but only because IntraWeb makes this so amazingly simple.
Open the main form of the application (Unit1). It will appear as a blank form like this:
Blank IntraWeb Form
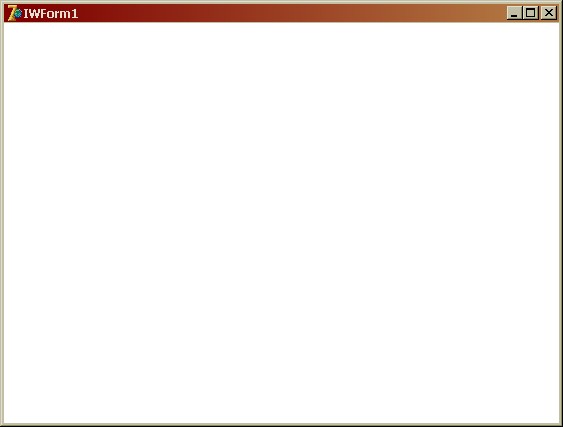
You will quickly notice the form is blank. Do not worry - this is just like a new normal Delphi application when we create it. The main form is blank and we must implement our application. Select the IntraWeb standard components tab (IW Standard tab) on the component palette as shown here:
IntraWeb Standard Palette

In the standard palette you'll see the base components for web development. However, that's not all. You an look in the other IntraWeb palettes to see components for database access, HTML 3.2 output, client side processing etc. For a complete reference of IntraWeb components, please see the IntraWeb Reference file. You can download this file from the Atozed Software website.
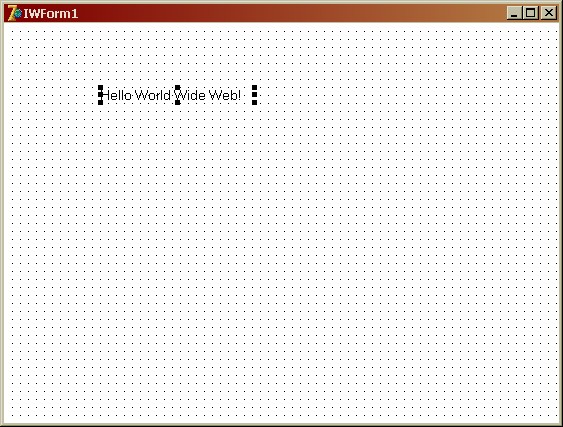
Select the TIWLabel and then place it on the form. It should look something like this:
Main form with label
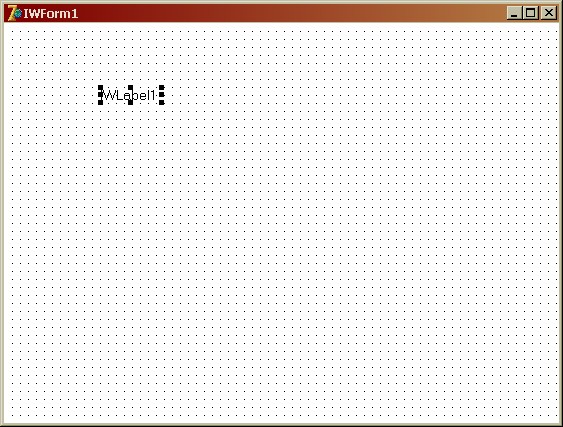
Now just like a normal Delphi application use the property inspector to change the caption of the label. Change the caption to "Hello World Wide Web!". You will notice that the label on the form updates itself to reflect this change:
Caption of the label has changed
Now all that is left to do is to run the application and test it.
Running the application
We have created this application as a stand alone application. What this means is that it will execute completely stand alone and become its own web server. This is extremely useful for debugging and testing, but it can also be deployed in this manner. Not only can it run stand alone, but it can be installed as a service on Windows NT, Windows 2000 and Windows XP. Please see the IntraWeb documentation for more information on this.
To test our application, simply run it as you would any other Delphi application. You will then see a dialog similar to this:
IntraWeb Stand Alone Information Dialog
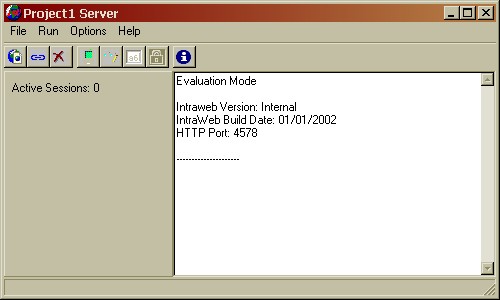
This is a dialog to assist you in testing and debugging. To test it in the browser click Run then Execute or press the F9 key.
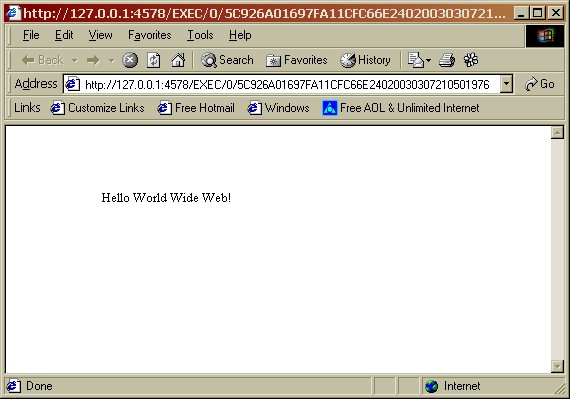
This will launch your default browser with the start URL for the application:
The browser window
Conclusion
Congratulations! You have just created a web application! All of this with no HTML, and it was just like a normal Delphi application was it not?
Now you might say "Well that is fine and dandy, but what about input? You are just showing us limited pieces and there are hidden gotchas." Trust me, there are no such "gotchas" waiting for you. IntraWeb handles input just like any other Delphi application. Want to handle a button? Define the OnClick event, that is it. Want to read the value of a text box? Read its text property.
But please, do not simply take our word for it:
| ·
|
See the next tutorial - User Input.
|
| ·
|
Download the fully functional evaluation edition and look at the demos.
|
|